People built smokeless campfire pits, constructed towering patio heaters, and purchased box after box of
pocket hand warmers at Costco last winter. There seems to be an equal and opposite pool of inventiveness
in the face of pandemic-induced disasters. If people couldn’t congregate comfortably inside, by Jove,
they’d gather outdoors, frigid temps and all! Now that it’s 2022, it seems like we’ve all run out of that
gung-ho attitude. As the new year approached, I found myself in that camp, so I took severe measures: I
created an ice bar.
Yes, in the backyard of my suburban house is a bar constructed entirely of ice and snow, from which I can
mix and serve beverages. No, I’m not an ice sculptor, I’ve never worked in construction (or bartending),
and I don’t have any unique equipment that enabled me to pull off this feat of icy engineering. I just saw
the Omicron version growing in December and concluded that if I can’t go to a bar securely this winter,
I’ll bring an outside bar experience to my home. Why doesn’t everyone do this? I wondered as I sat at my
ice bar in my Alaska parka and long johns on an ice barstool, looking about at my neighbors’ dark and
snow-covered backyards with no footprints to be visible. I’m planning on asking those neighbors over for
a drink after I’ve perfected my bartending-in-mittens abilities, but for the rest of you out there in the
coldest parts of the globe, here’s how you can be the ice king or queen of your neighborhood, too.
How to Make an Ice Bar
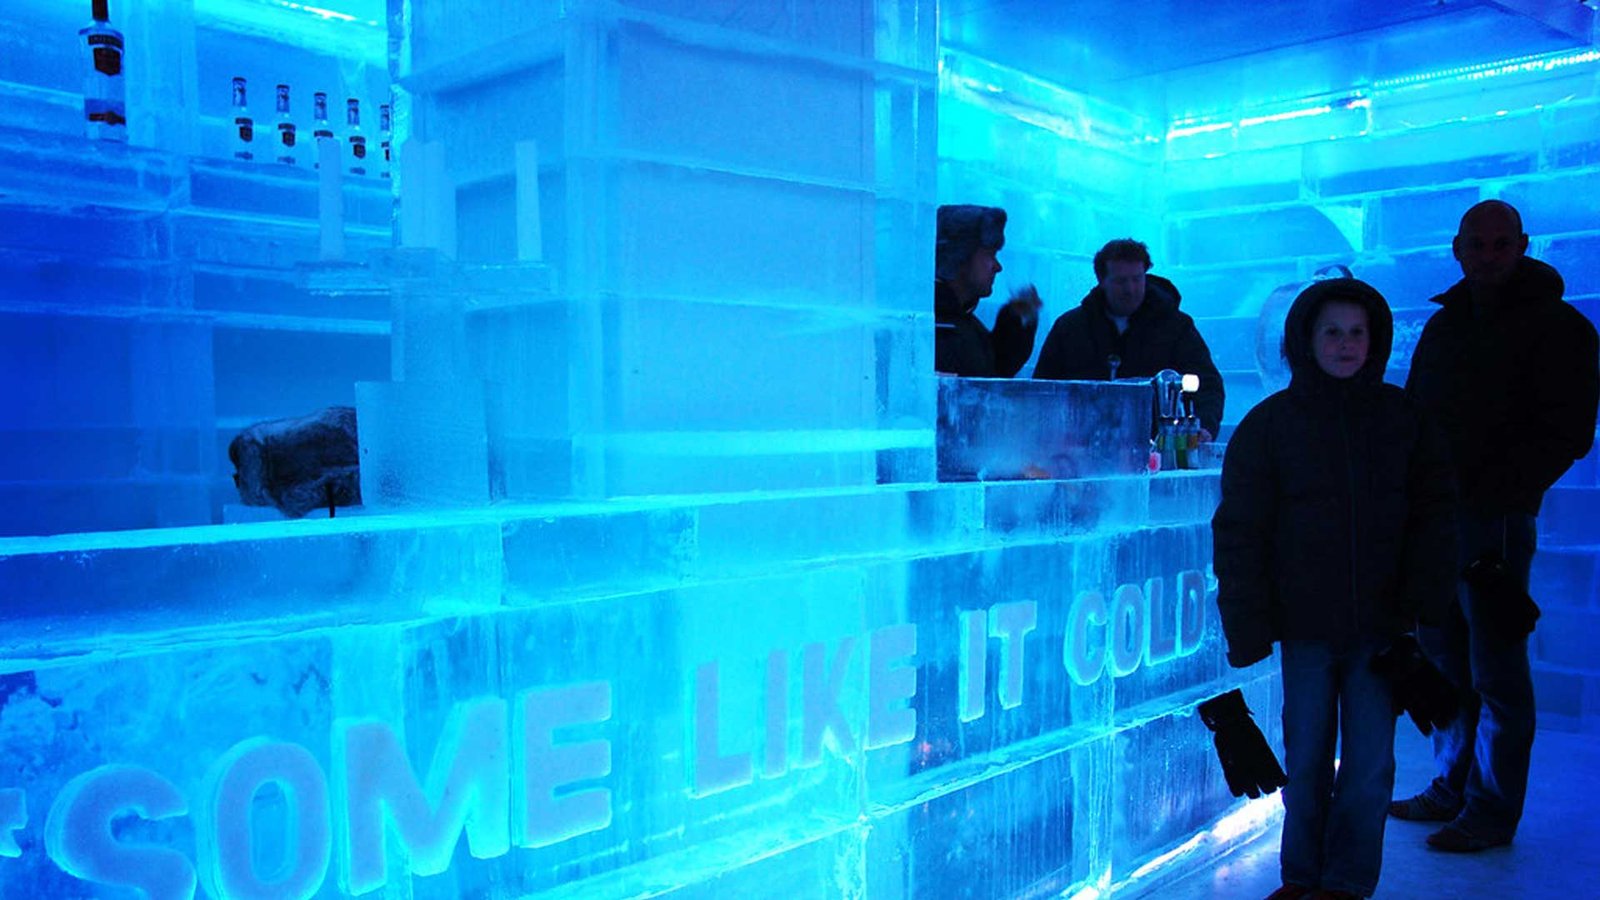
If you reside in a city where winter temperatures are frequently below freezing, you may find an ice bar
near you at a restaurant or hotel to entice you in. My fellow Minnesotans inspired me, particularly the tale
of one family who erected a bar in their front yard last winter. It was made comprised of a wood frame,
ice blocks that had been frozen for a month, and $50 worth of Target materials. It looked wonderful, but I
felt I could make one without a frame for $0.01 in less time. The first and most apparent drawback is that
you will never be able to make this work if you live in a region where there isn’t enough snow and the
temperature is consistently over 32 degrees Fahrenheit. I was fortunate to construct mine in late
December and early January in Alaska, when temps plummeted as low as -20 degrees and maxed out at
33 degrees on a few days, but even I in the frigid north have been concerned this week, as highs soared as high as 38 degrees. Thankfully, the temperature is beginning to drop.
I began with a YouTube instructional from Nathan Ziegler of Minneapolis’ AlaskaCold channel. I
followed his basic guidelines and tweaked them to fit my requirements. The method is putting the largest
plastic garbage bins or storage containers you have outdoors on a level area, filling them with water, and
allowing them to freeze into blocks. You may make your blocks bigger or smaller depending on how
chilly it is. I built some that were six inches wide (and filled my bins with six inches of water) since I
knew they’d freeze in -20°F weather; if it’s constantly above 0°F, four inches of water will suffice.
Connect your hose to a faucet inside your home and run it outside to where you’ve put your containers to
prevent it from freezing. I also had a bucket from Home Depot in my garage, so I decided to fill it with
water and attempt to construct some stools out of it.
You’ll be able to observe pockets of water in those who still need some time outdoors while checking on
the development of the freezing. I turned them over and gently eased them out with a hand on the ice after they were totally frozen; if you turn them upside down and let them fall to the ground, they may fracture.
Standing the blocks upright in the snow, piling snow around them for stability, and then freezing them in
place by pouring a little water over the snow and ice to create a form of frozen cement was necessary for
assembly. I laid more flat blocks on top and did the same process with the snow-water cement, eventually
adding a smaller second level of three blocks in front, two supports, and then a bar top of three flat slabs
once the base was solid — mine is four ice blocks in front, two on the ends, and three in the middle for
supporting a second tier.
A handful of pointers that may seem obvious but are still useful: You may not need to stack two levels if
you have longer bins for freezing the blocks as I did. I made do with my bins, which are about 20 inches
long. If you’re constructing a tiered bar, use thinner blocks as you go higher to prevent putting stress on
the ice below. When it comes to topping your bar, you’ll want to use the smoothest blocks you can. (As
the ice expands throughout the freezing process, you may see some bending in the plastic containers.) Of
course, don’t make it so thin that leaning on it could shatter it, and don’t make it so heavy that your hard
work comes apart like a Jenga tower. My ice bar is still standing a week after it was officially finished,
including the seats, which magically froze. From start to completion, it took me about a week and a half.
What to Serve, How to Finish It, and Other Concerns
In Ziegler’s film, he uses LED lights mounted to plastic slats cut from Venetian blinds to light up his bar.
The finished result seems to be ready for primetime at Sweden’s famed Icehotel, yet all I did was wire a
string of solar-powered camping lights behind my bar, running them between the ice block openings, and call it a day. There is no cost—final product: virtually as good as, if not better than, the original.
Additional all-weather outside lights hung between my home and a tree in my backyard contribute to the
atmosphere, and a campfire set far enough away from the bar keeps guests warm.
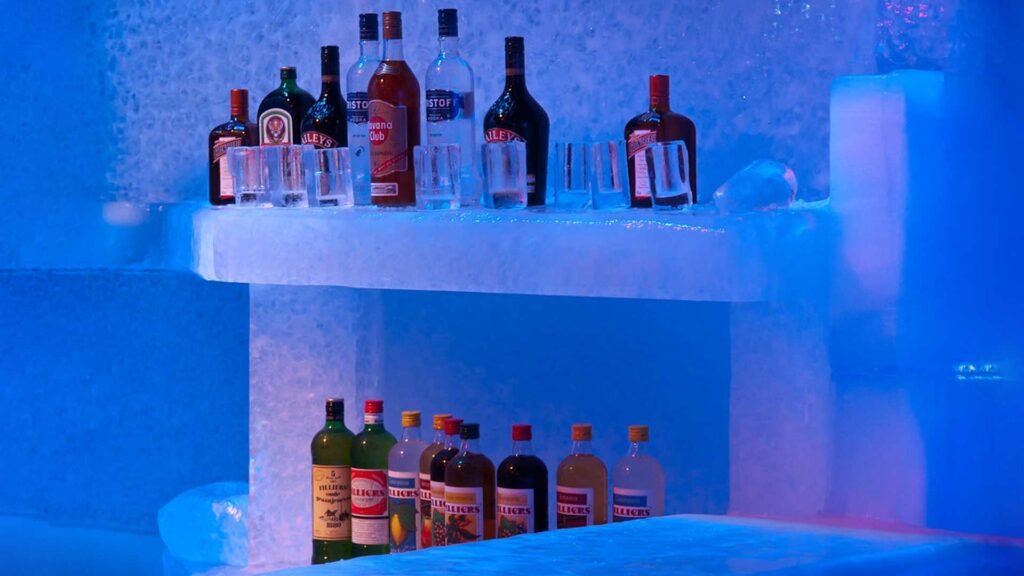
Now we’ve arrived at the essential issue of all: what do you offer in an ice bar? Beer is apparent since you
can put it in a bucket or directly in the snow, but cocktails are the key, in my opinion. What’s more
amazing than a well-crafted cocktail created by the same people that designed the bar? In that case, stick
to warming spirits like whiskey and basic cocktails like a Manhattan, Old Fashioned, or Boulevardier,
which you should know like the back of your hand. Fresh juice and fruit garnishes are your friends, but
anything that requires additional tools or preparation, such as fresh juice or fruit garnishes, is not. (Olives
and nice cocktail cherries are perfect since they provide additional calories to keep your customers warm.)
If you can brew hot chocolate and keep it warm enough to serve outdoors, go for it — especially if you
have a bottle of Baileys on hand — but be warned that any hot cups will rapidly melt into the bar’s top, as
I learned on my first expedition.
When your visitors’ primary concern is remaining warm rather than criticizing your mixology abilities or
bottle selection, a basic dram of Scotch or another whiskey will likely be accepted. Keeper’s Heart Irish American whiskey from the newbies at destination distillery O’Shaughnessy is a particular favorite, but because I’m doing this instead of visiting local restaurants, I prefer to have Minnesotan bottles stocked at
the cold bar. Anyone eager for the task should be aware that they will be interrogated at every point. My
own experience of constructing an ice bar reminded me of something out of Griswold. I felt like I was
pushing almost too much into suburban life, like Clark in National Lampoon’s Christmas Vacation, while
others simultaneously rolled their eyes at my attempt. Even if others couldn’t see it, I could see the
inevitable victory. When the ice bar was finished, and I switched on the lights for the first time at 6 p.m.
one night — the sun sets about 5 p.m. here — I knew it was all worth it. In the mid-winter darkness, it
was a towering, strong, gorgeous beacon of light. And the Old Fashioned I prepared, with two cherries,
was the coldest I’ve ever tasted